23 services for 2023 are here, we started and we are not planning to stop. Thank you all for the support and the awesome comments and messages.
For today we have one bonus post which is related to passwordless Azure Active Directory, we will check what it is, how it is, and why we need to use this.
In this post today we will see how we can secure our Azure Active Directory by using FIDO2 Security Keys. Thanks to FEITIAN company, which gave me the opportunity to test their products which I will show you later in the post.
So if you’re asking yourself: But why passwordless post now? Because our previous post is related to Azure Active Directory and Passwordless is a feature of it.
What is Passwordless?
I think the name says everything, but by definition passwordless means to verify your identity without using a password.
Why use Passwordless?
Because the absence of using passwords AUTOMATICALLY reduces the attack vectors but also protects us from brute force attacks, credential stuffing, phishing, and keylogging, That’s why we should use PASSWORDLESS!
How to use Passwordless?
Very simple which we will see in our post today, but before that let’s check the options and possibilities for using PasswordLess.
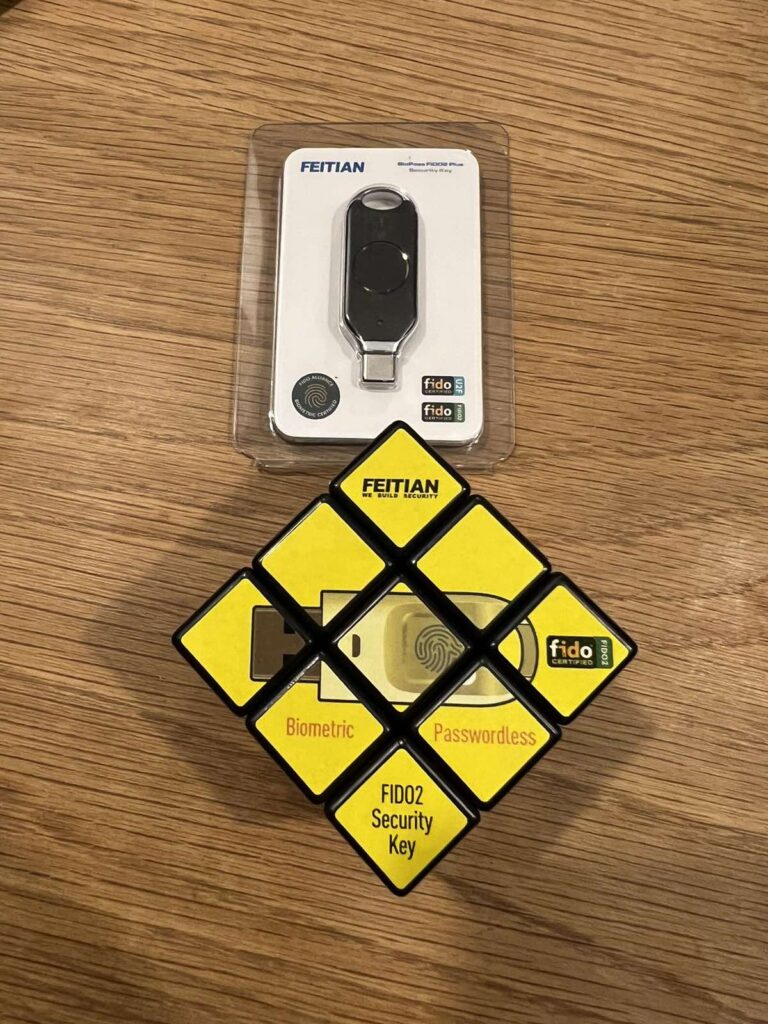
In today’s post as I mentioned we would use the product from FEITIAN company, which is in official partnership with Microsoft Intelligent Security Association (MISA).
FEITIAN offers a couple of products like in the picture below:

You can find more about them here
In today’s post, we will use model K49 and we will use this model to secure our Azure Active Directory, which means if I want to access my Azure, I will use the FIDO2 Security Key, not the password.
At the begging we must know that Microsoft is giving three options for Passwordless:
– Microsoft Authenticator
– FIDO2 Security Keys
– Windows Hello for Business
I think most of us are aware of the Microsoft Authenticator and already using it, but today we will also try to access our Azure without pressing any button.
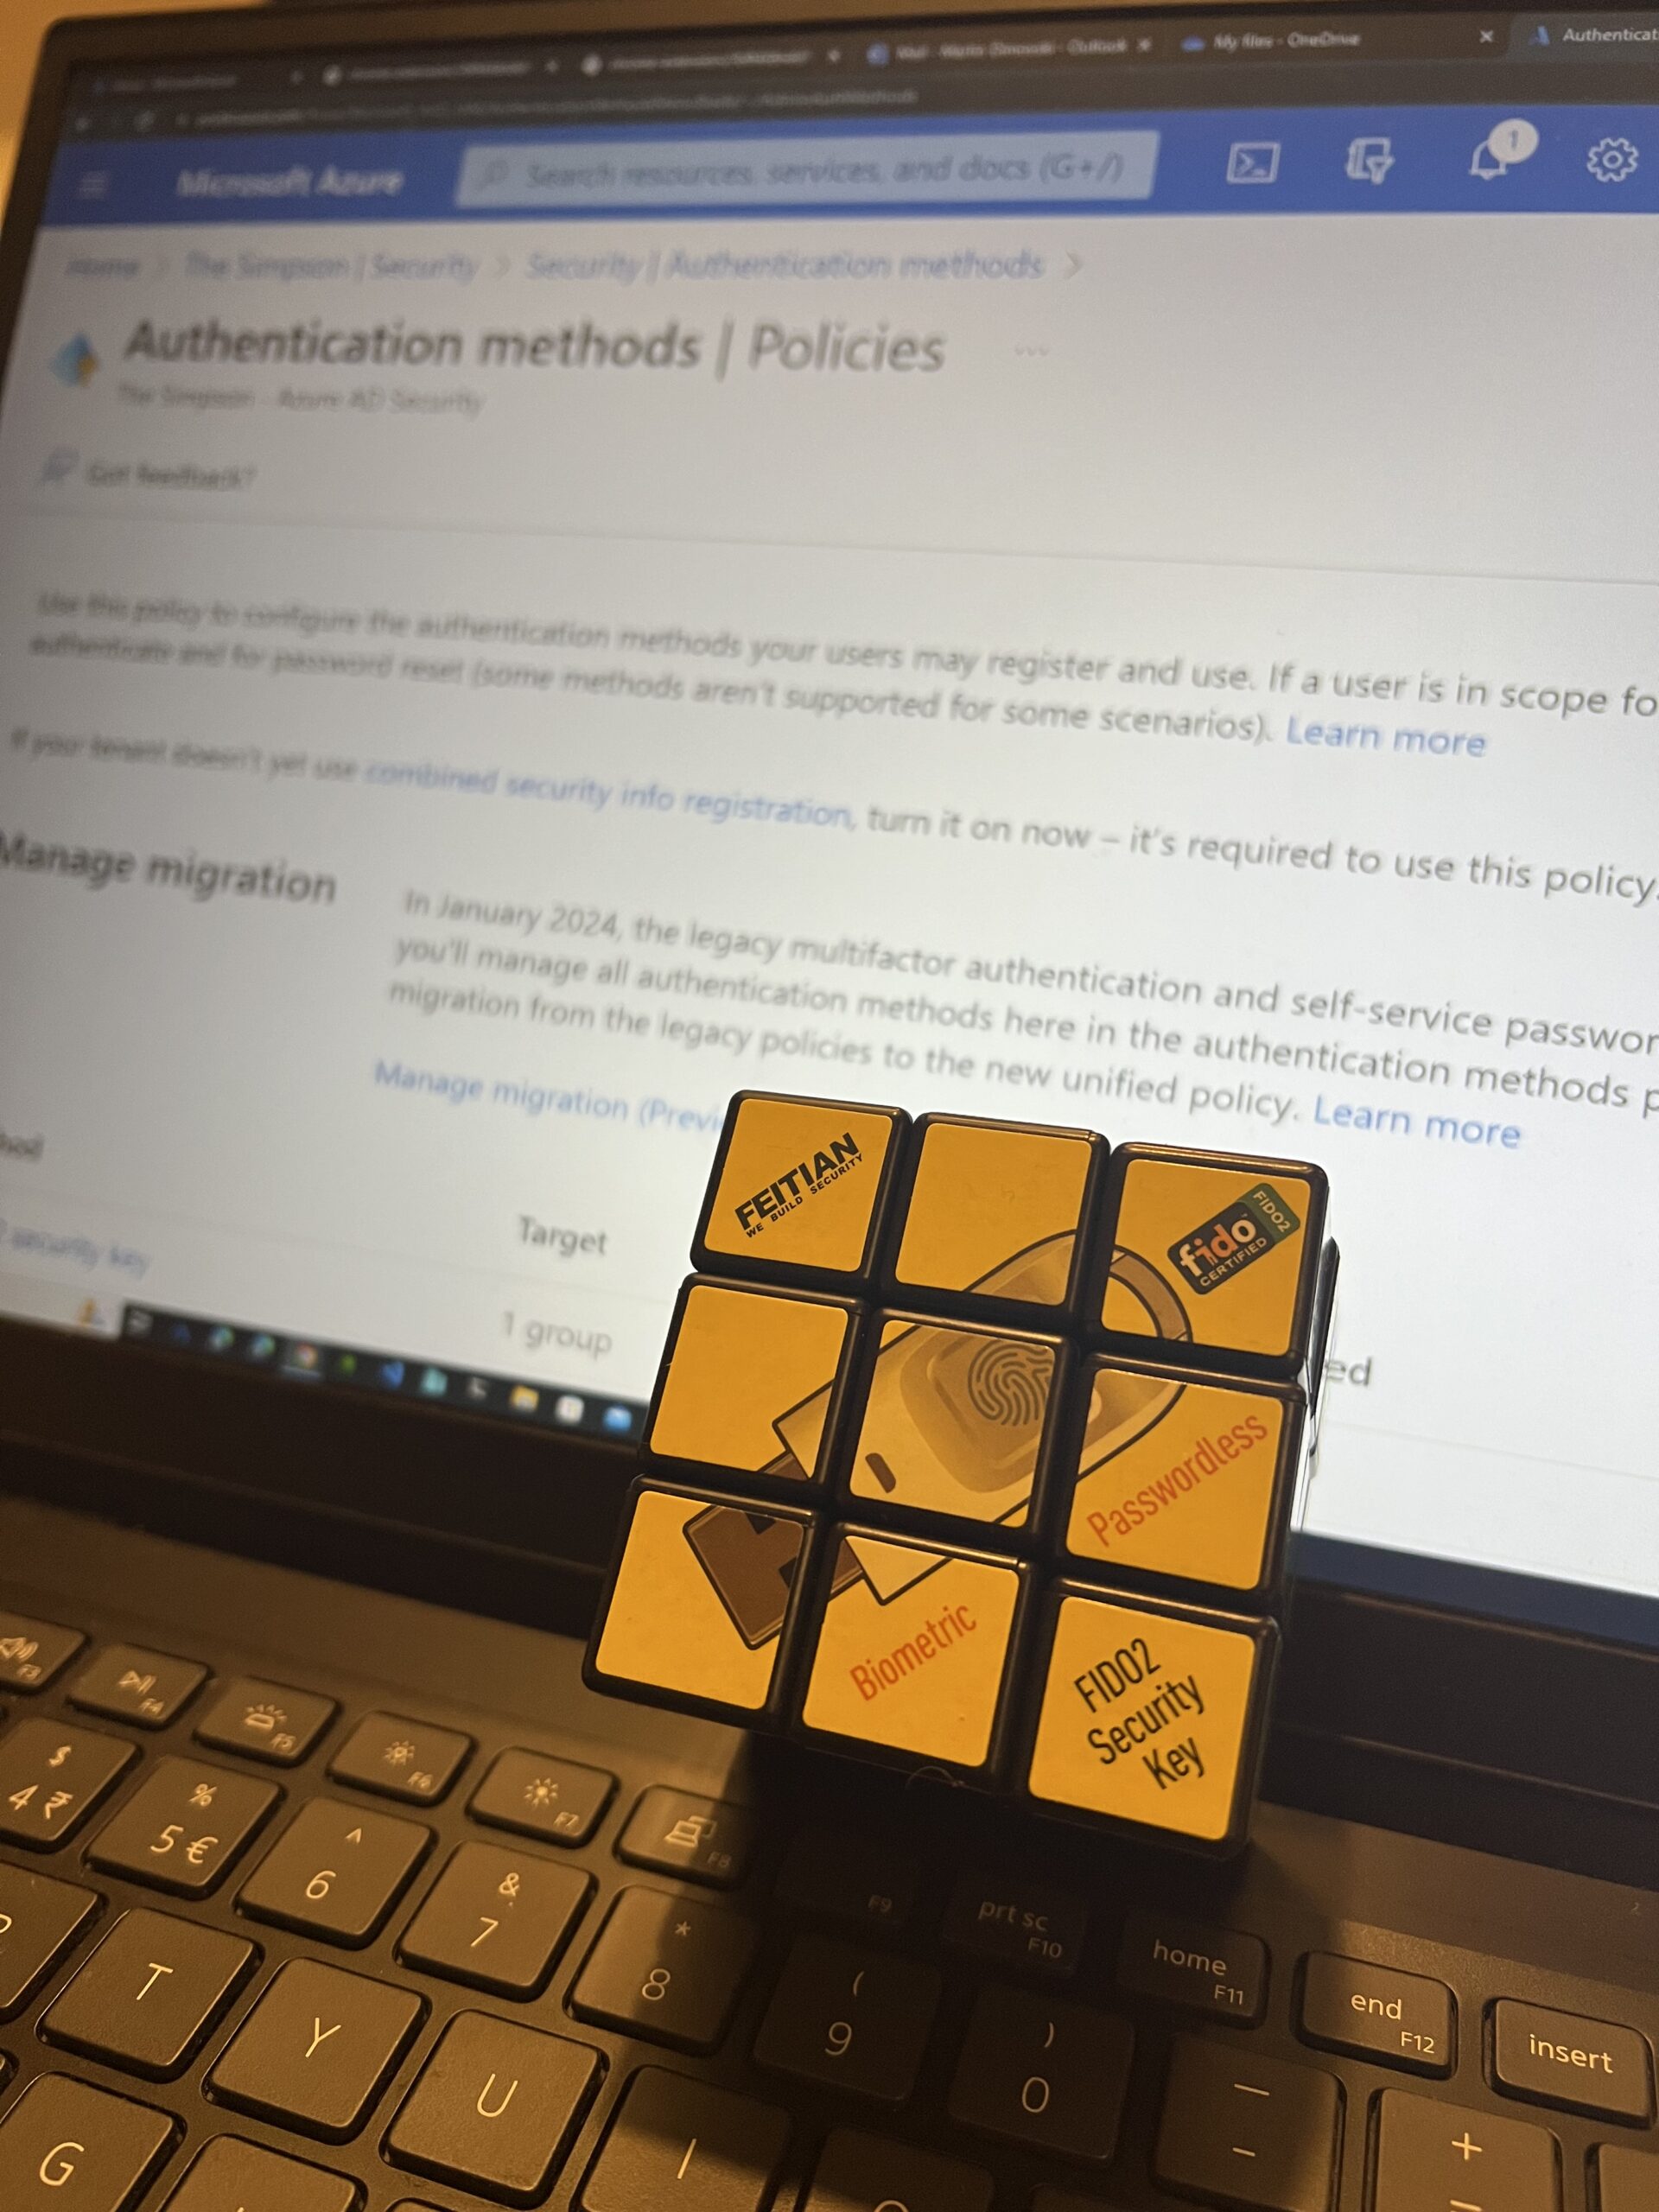
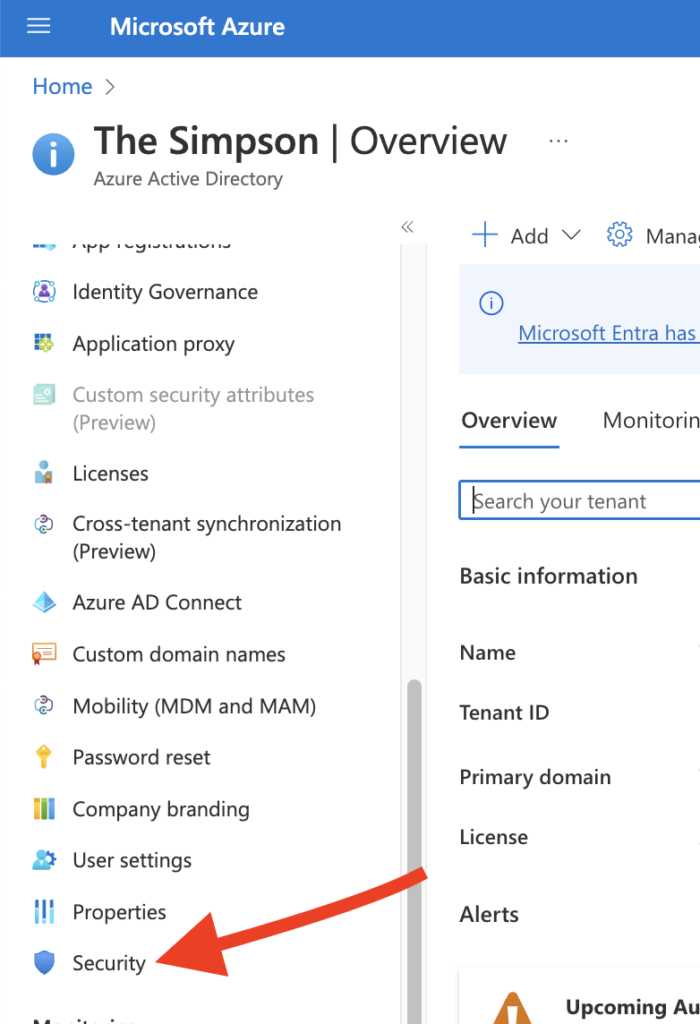
So first to configure we need to access our Azure and go to Azure Active Directory. After we find the AAD we need to choose the option Security
After we press Security, we will get see new options. From the new view, we need to choose Authentication Methods
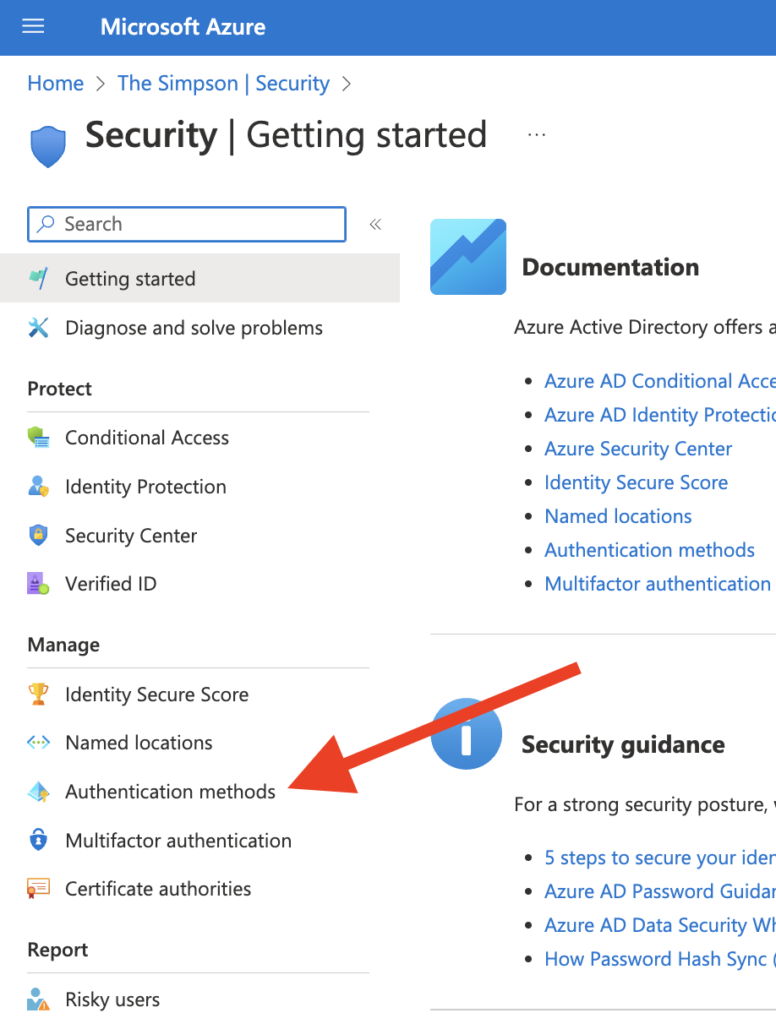
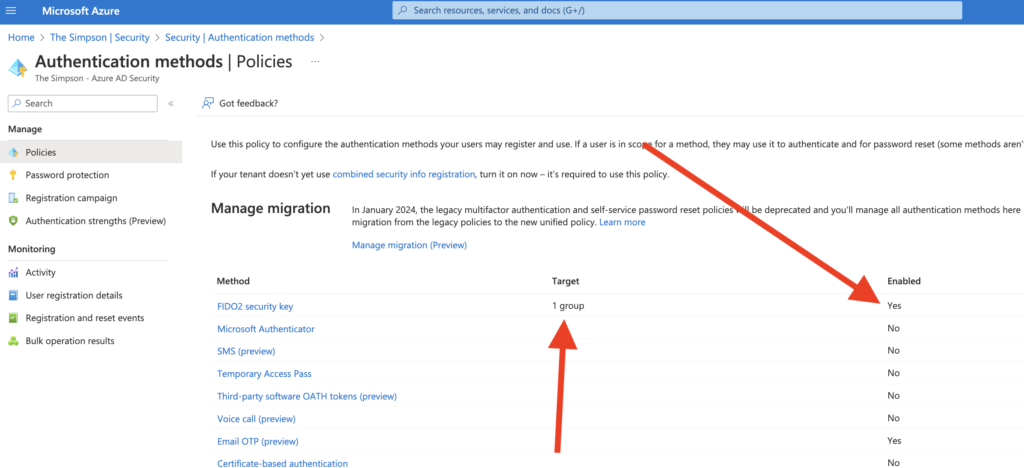
Then from here, we are able to see the option that we are looking for, FIDO 2 Security Key

Click on the option FIDO2 Security key
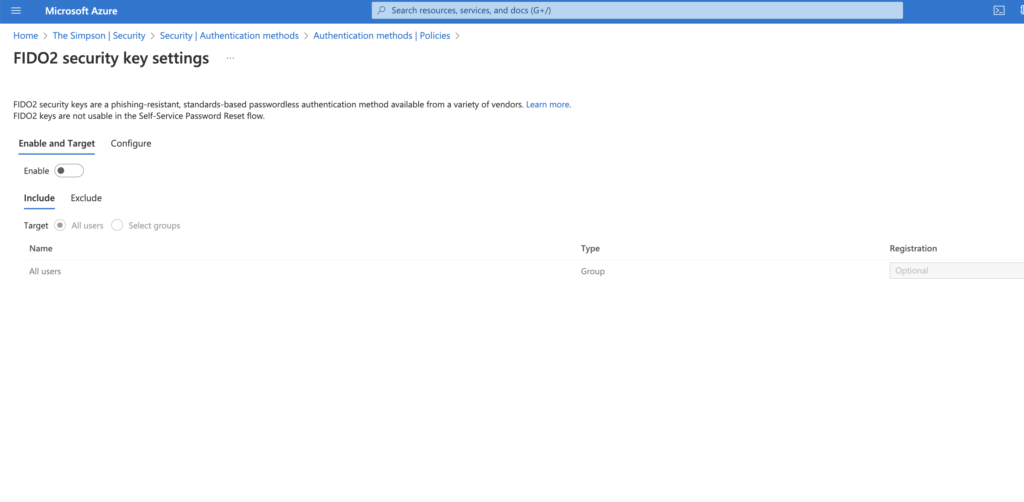
- Enable and Target – Because this option is working per group I would highly recommend first creating a new test user and new security group in AAD and then from here selecting the group with users that need to use FIDO2 Security Key, which means with this option you can apply this Security option either for All Users either for a specific group.
- Configure – This option is what we want to allow, block or restrict but also to enforce for the users as we can see on the screenshot below we do not have many options (just 4) 2 of them my recommendation is to be yes.
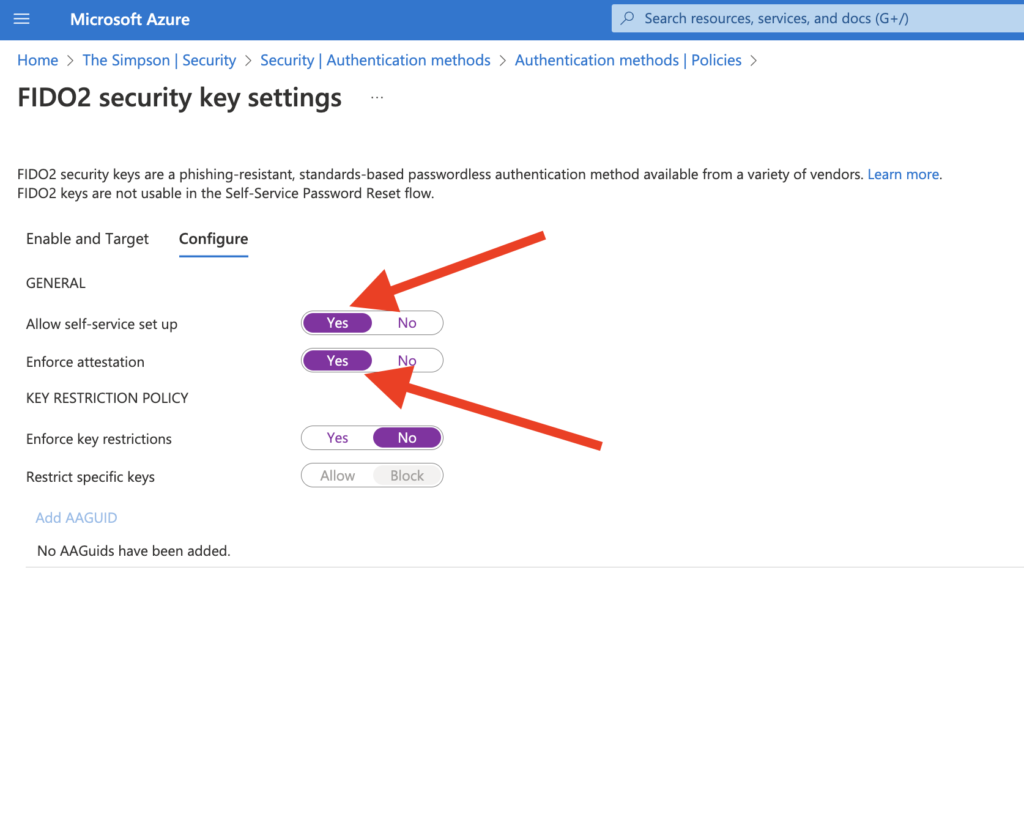
- Allow self-service set up – This option should be yes, because if this option is NO, it means that the users CAN’T register the FIDO2 Security Key, it doesn’t matter if it’s enabled via the Authentication Policy.
- Enforce Attestation – This option should also be yes because when it is yes, it requires the FIDO security key metadata to be published and verified with the FIDO Alliance Metadata Service and pass Microsoft validation testing.
After we configure the settings we are now ready to press Save and enable the FIDO2 Security Service.
Because we added a lot of screenshots, now is good to make a small recap about what we have done.
So in our Azure Active Directory, we have enabled the FIDO2 Security Keys option to be used. As we can see on one of the screenshots that this can be applied to the AAD Groups, upfront I have created one test group and one test user. I added the Test user in the Test Group, which I enabled for this group the FIDO2.
After we are done on a top level, now we will continue to configure that on the user level.
So first the user needs to go to My Profile: https://myprofile.microsoft.com/
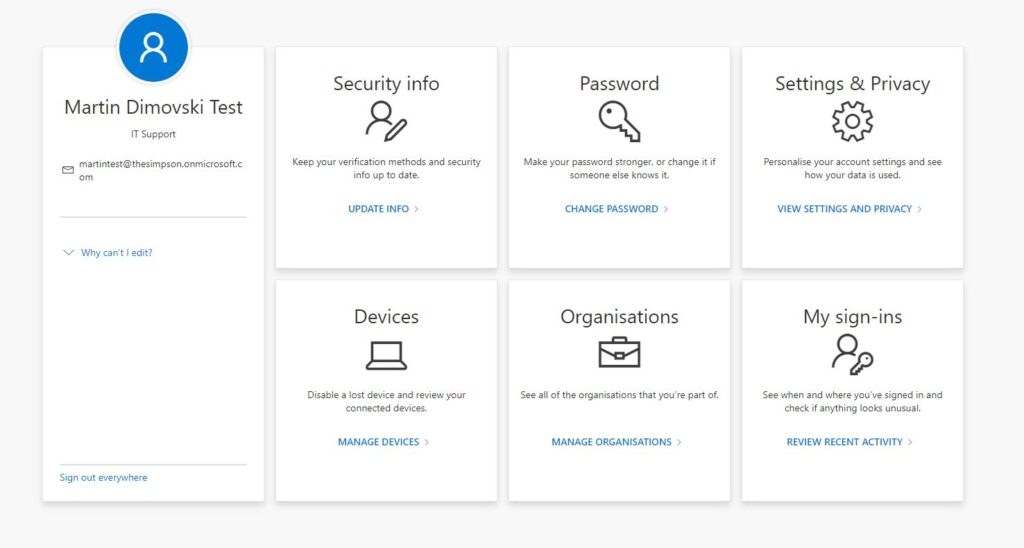
Once you are there, choose the Update info option under Security Info.
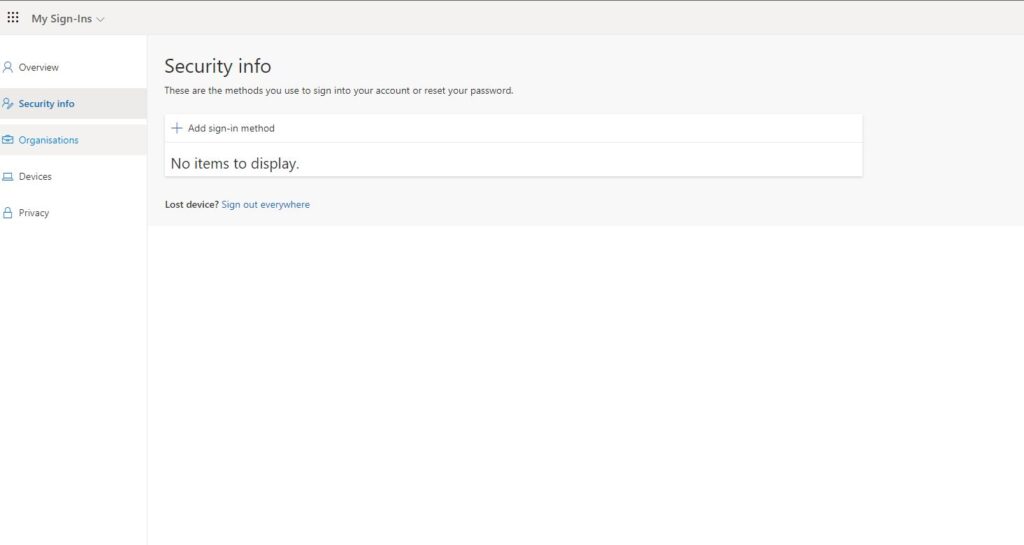
From here we need to choose Add Sign-In Method (please note if you already using Microsoft Authenticator you can see listed here and the next 2 screenshots you can skip) in my case I don’t have any Passwordless option on this account so first, I need to configure my MFA.
It’s really simple, you press next, Scan the QR code and basically, MFA is enabled.
After we are done with this, we are again going at Add Sign-In Method.
Now because we have MFA enabled we can continue so,

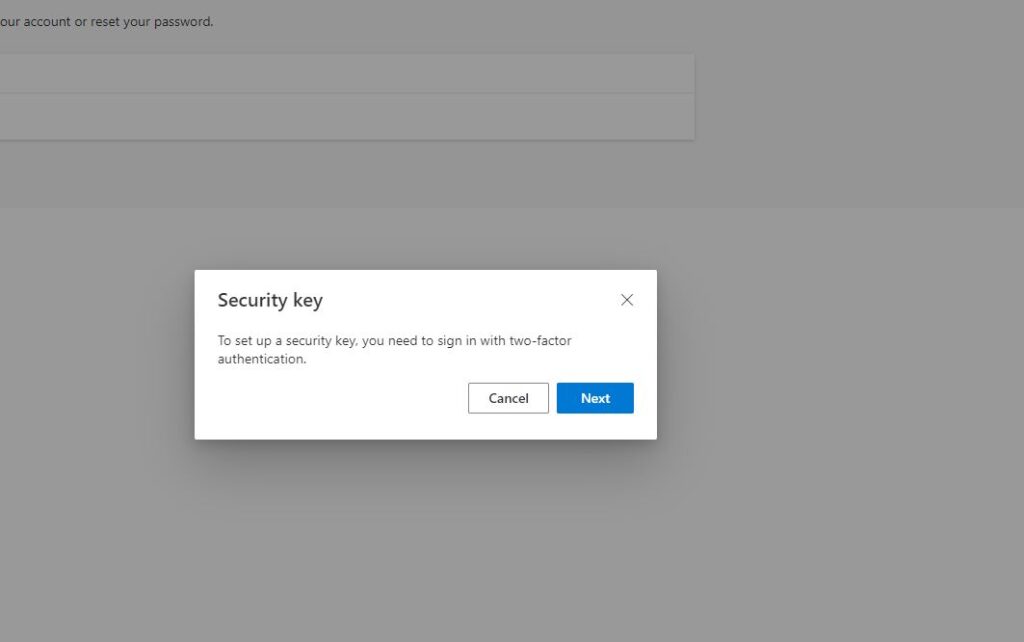
Once you press Add you will get a pop-up from the browser that looks like this
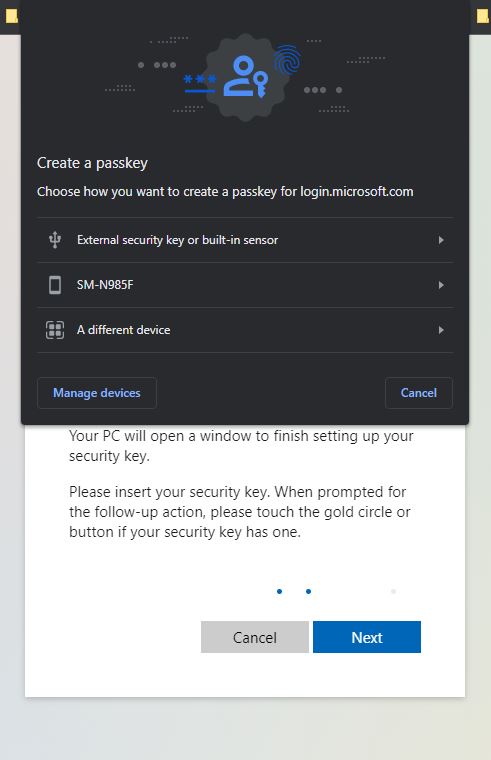
Here you should choose the External security key or build-in sensor option. Once you’ve done this, you need to plug in the FIDO2 Security Key.
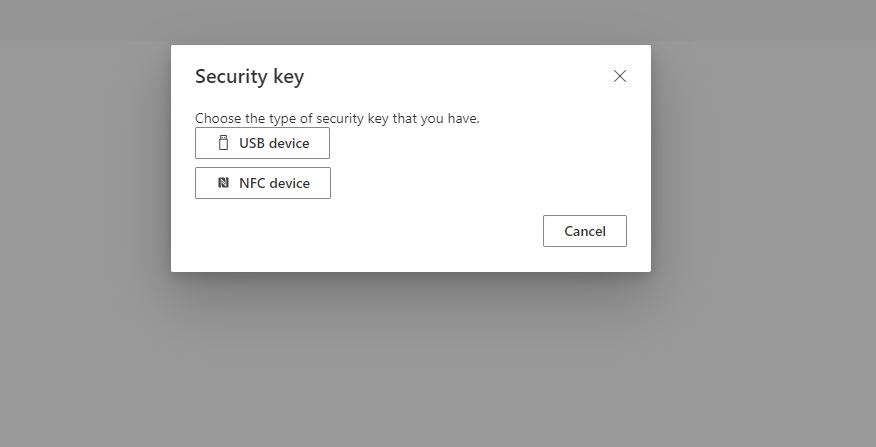
Next, you will need to choose the type, in our case is a USB device so click on it.
Wait for 30 seconds, your windows will recognize it and you will get a notification like this
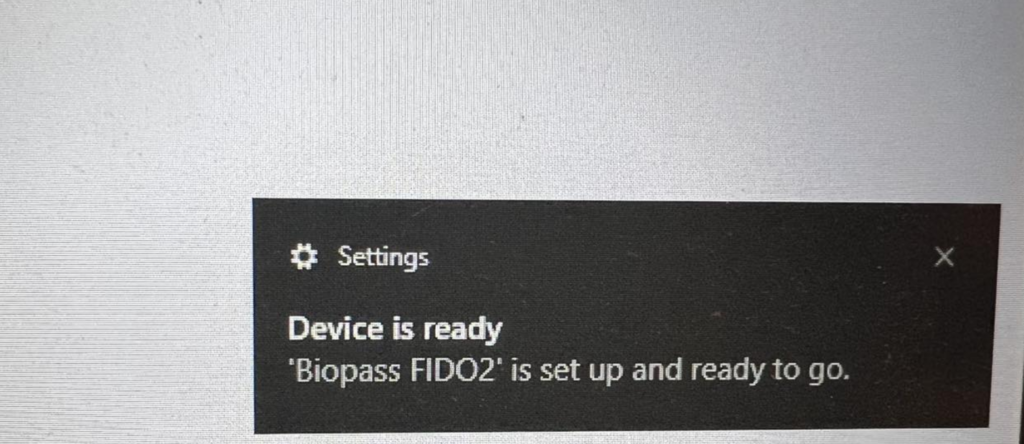
Once you plug in also the pop-up window will say the same
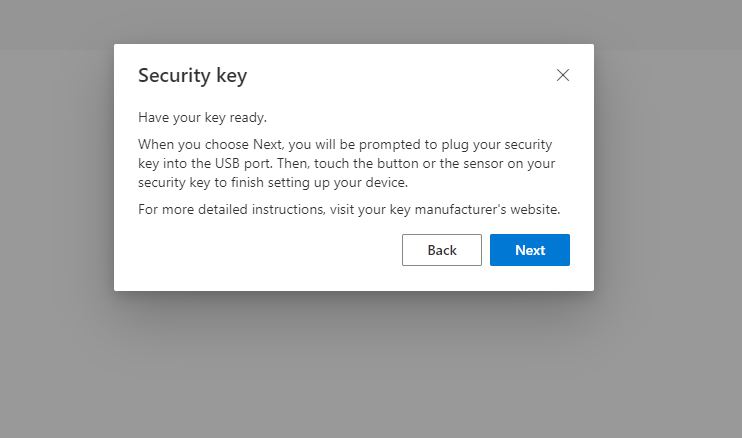
So now we press Next and it starts the process of registering the FIDO2 Security Keys.
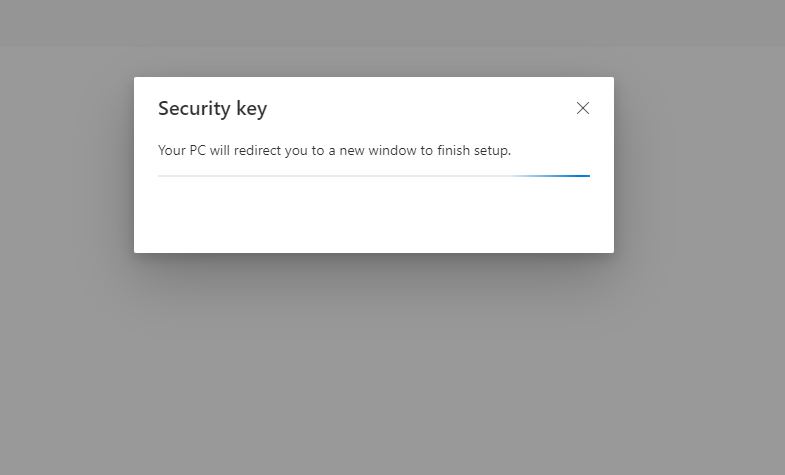
The next window will look like this:
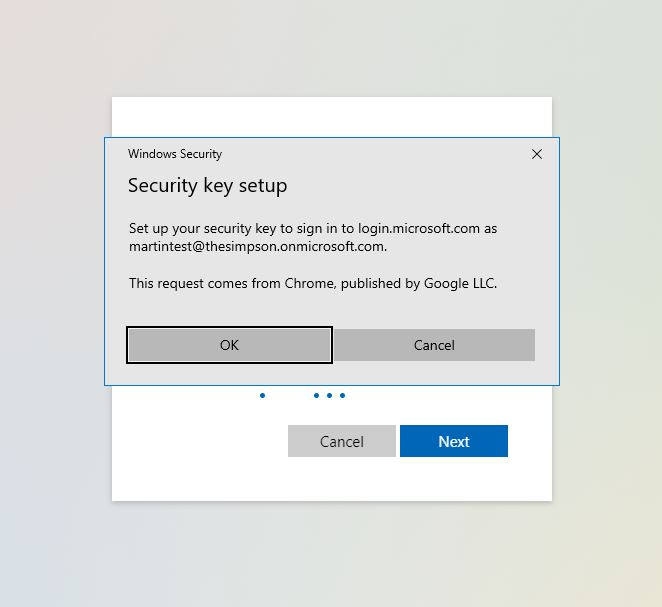
Press OK and then we will get this window:
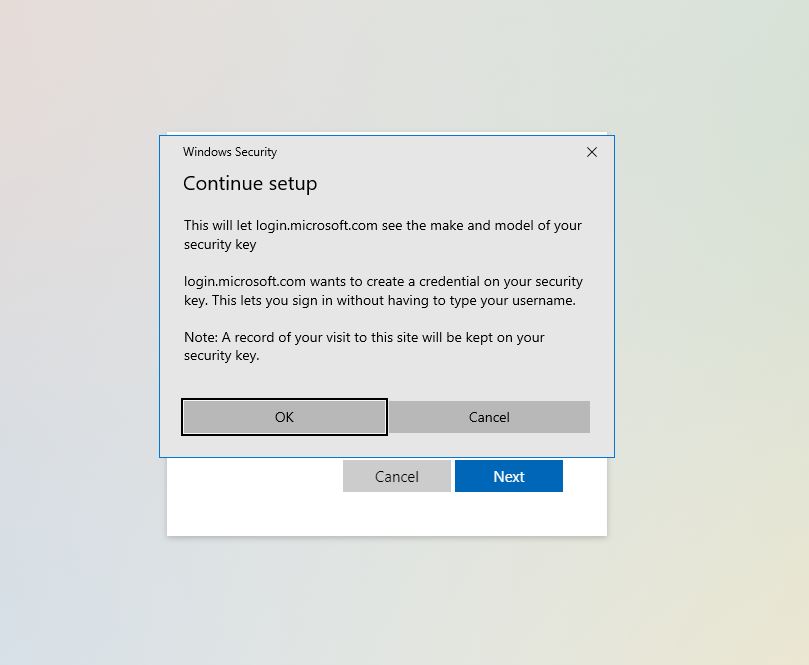
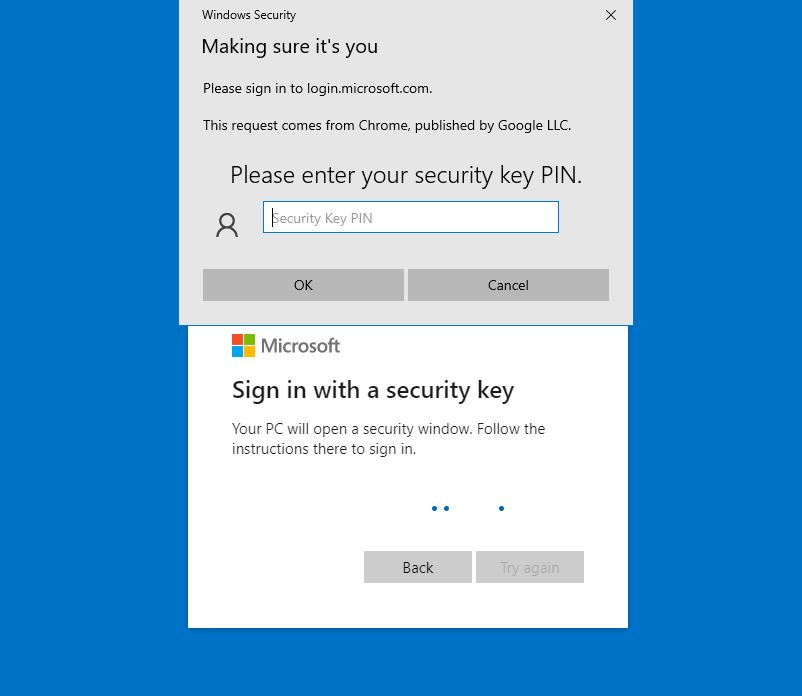
Once we press OK now we will need to enter our pin
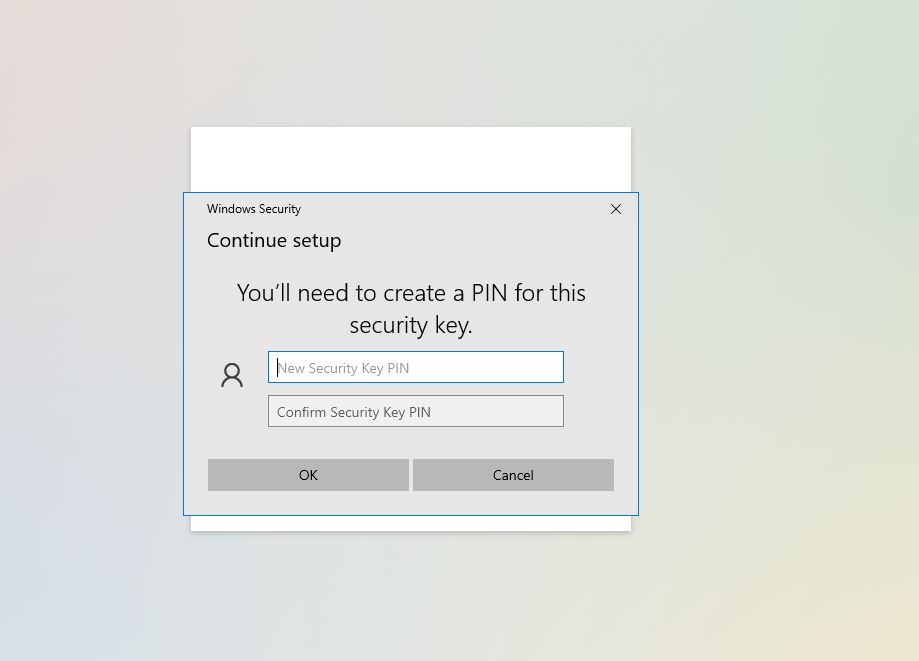
After we enter the pin, press OK we are now to our Last step
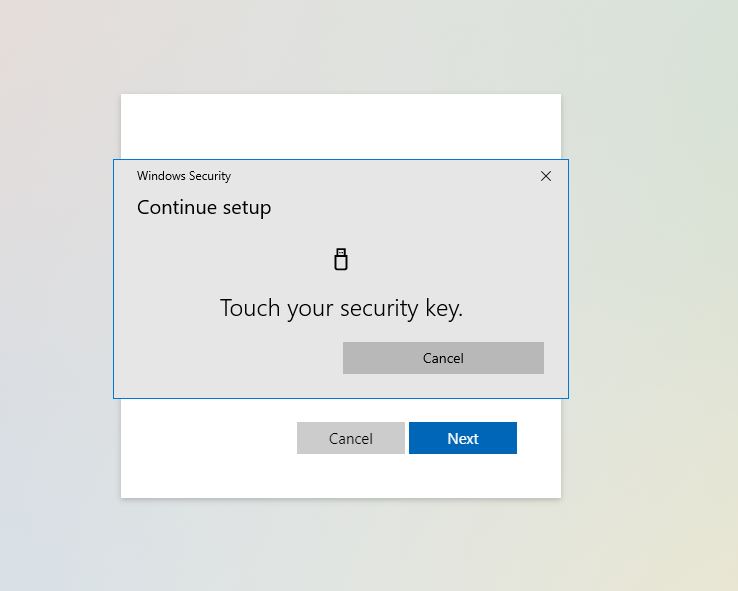
So once we Touch the Security key, we are proceeding to naming it.
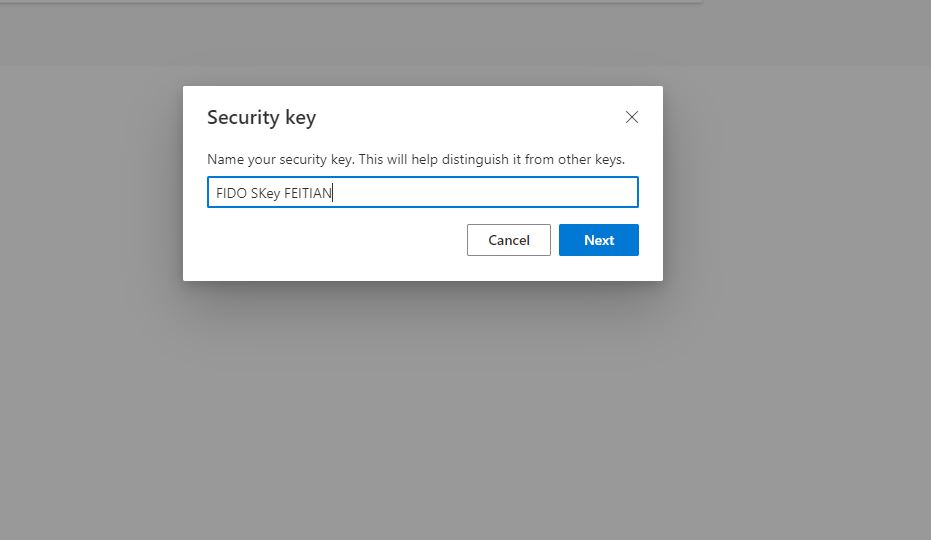
So after we give a name to our Security Key we press Next
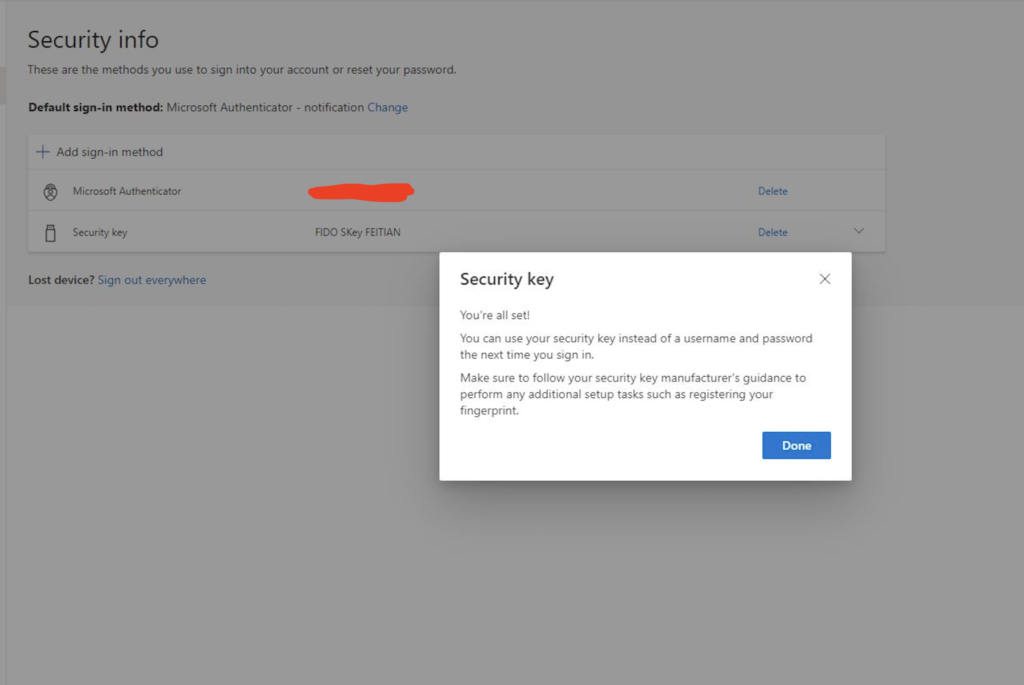
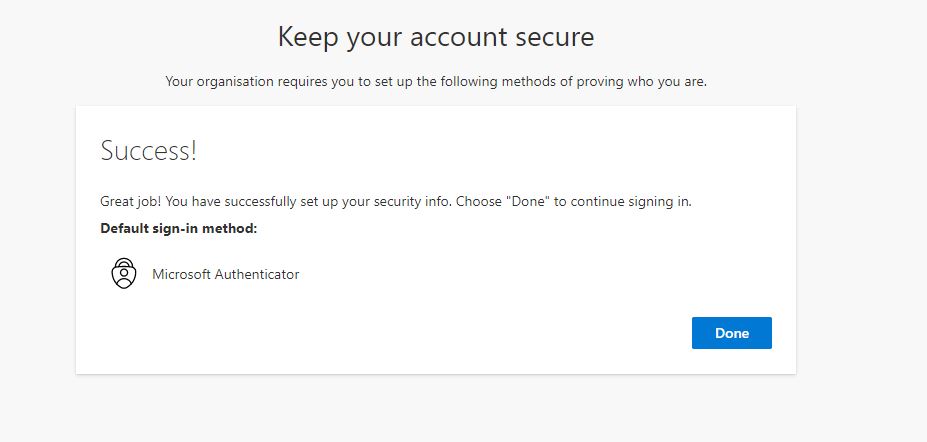
VOILA!!!
We have successfully configured our FIDO2 Security Keys.
Now we have successfully enabled FIDO2 Security Key for one of our accounts to access to Azure Active Directory without entering any password.
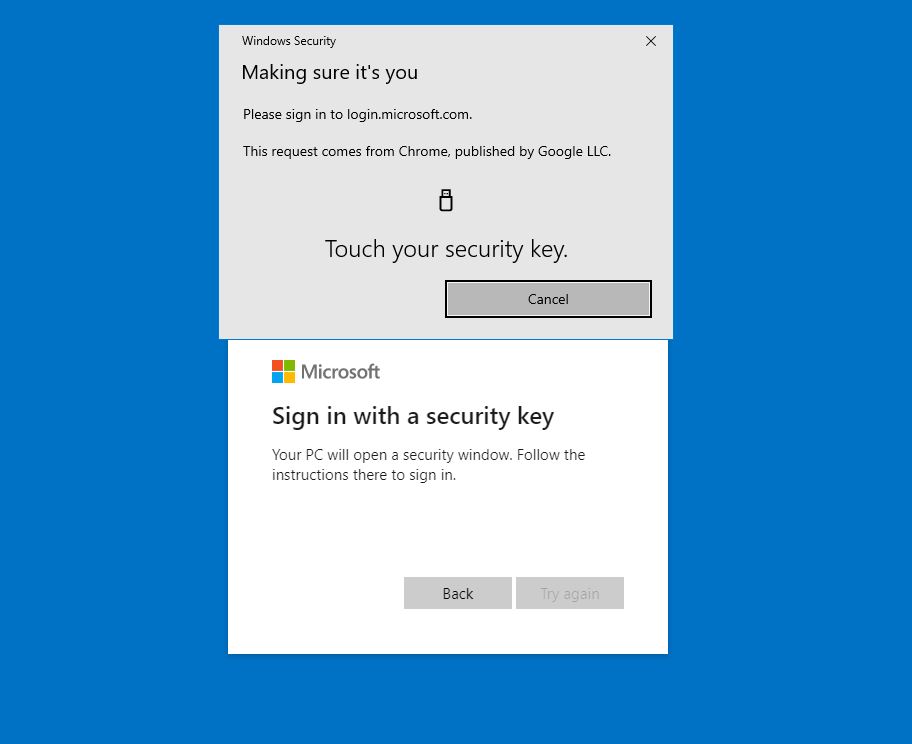
So now, when you want to log in to Azure, please don’t forget to use your pin
and of course, Touch your FIDO2 Security Key.